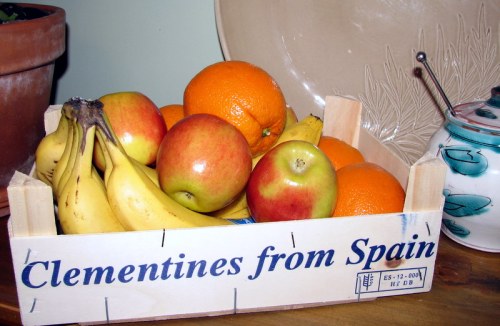
 or today’s tutorial, I used a very versatile and highly recyclable material available in your nearest grocery store – a clementine crate. You know the boxes made of unfinished plywood used to store the sweet tangerine-like fruit? These sturdy little boxes are wonderful and you can use them for anything from planters a la Martha Stewart to doll beds for kids.
In our house, we plan on using them for mail management to separate the “FILE,” “TOSS,” and “SHRED” piles. Of course, it remains to be seen whether we actually follow through with the said organization scheme!
Have you used Clementine crates for anything other than storing clementines (or bananas and apples) themselves?
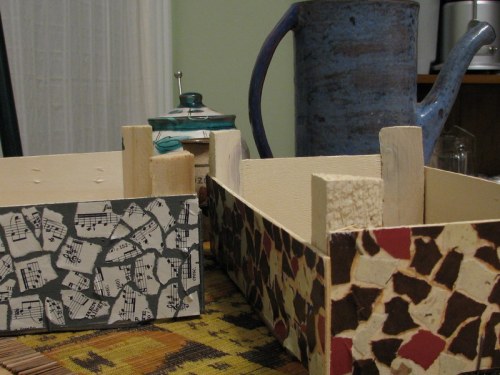
This quick DIY project transforms a clementine crate into a decorative box or tray with a decoupaged mosaic look. Here’s the “after” photo.
For this project, you will need:
1. Clementine crate (you should remove any labels, paper, and the plastic “net” that holds the clementines inside the box).
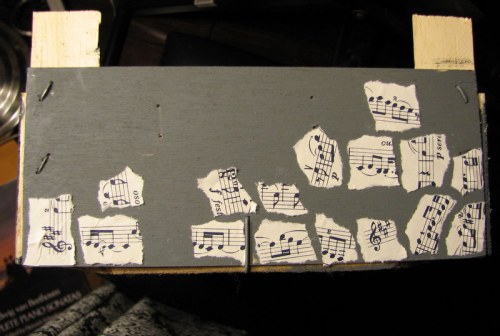
2. Wrapping or art paper of your choosing. Even used or remnant pieces will work, as long as you have enough to cover the four sides of the crate. As you see below, I used a musical-themed giftwrap with the score of Vivaldi’s violin sonata printed on it – which Mike even tested out on the piano.
3. Acrylic paint in color contrasting with that of wrapping paper. Here I used the Ace-brand paint (from my favorite $3 sample jar) in cozy color called Flannel Suit.
4. School glue, wood glue, or Mod Podge.
5. Polyurethane for finishing.
The process:
1. Prepare the crate by painting it the base color. I didn’t find it necessary to sand the crate, since the plywood it is made of is unfinished and seems “grippy” enough for paint. Make sure the paint is dry before step 3.
2. Tear – don’t cut – wrapping paper into 1” strips and then tear each strip into rectangles, squares, triangles – whatever shapes happen to come out as you tear.
3. Starting at the corner on each of the four sides of the crate, start gluing the pieces of paper onto the painted wood. I start with larger pieces and fill in most of the space on each side of the crate. Again, the goal is to make the mosaic to look random, so I don’t align the pieces in any way – I rotate them and shift them in relation to other pieces. Then, if there are any large gaps, I tear off a small piece of paper and fill those as well. Complete all four sides this way.
4. Finally, after letting the glue dry a bit, finish the crate with two coats of polyurethane. As you can see from the photos, I didn’t paint the corner posts grey, but I did coat them in poly to make the whole thing look finished.
On a different note, I was so happy to see all of your comments on my recycled yarn post – please keep ’em coming!
Happy crafting!


Wow, good idea, great description.
Thanks
Thank you, thank you, thank you! I’m glad you enjoyed it!
It is very good idea, nice work.
You know, what I like about the crate on the right is that it looks like it has ceramic or glass pieces glued to it.. I like both of them in different ways, though :)